
I knew this was going to be complicated, as I knew roughly how the shutter on a camera worked, but wasn’t sure how I would get everything to work at the same time! I even considered cheating and went onto Turbosquid.com to search for one, and there was one very elaborate model which looked beautiful, but cost $80! However, I was able to download the promo still from it to use as a template, and by adding it as a material on a plane I was able to trace the basic shutter shape, extrude it and with Lara’s help found out how to Boleen a hole for the joint to be added. I ten copied the shutter nine times and positioned it in a circle, which looked pretty good. It was a lot simpler than the commercial model, but as I was only going to show the centre aperture, it was fine. A nice metallic material made it look very professional.
 Moving the Shutter: Now came the big problem, making the blades rotate in the right place. Again, this is where I found Max infuriating, as noting seems to be easily placed. In Photoshop it is a simple case of dragging the anchor point to where you want, but Max there was nothing. Much searching though the help files finally revealed the pivot point change in the hierarchy section. Why there? Madness! Still, once I found it, it was a pretty straightforward to move the points, and then by chance I found while accidentally highlighting more than one shutter by mistake that the rotation edit worked universally on anything highlighted – fantastic! So closing the whole shutter was a simple task, with a few minor tweaks to make sure the iris was completely closed on the end position.
 Learnt from modelling the shutter: Line tracing a picture. Boleen cutting, re-positioning pivot points, simultaneously rotating multiple objects.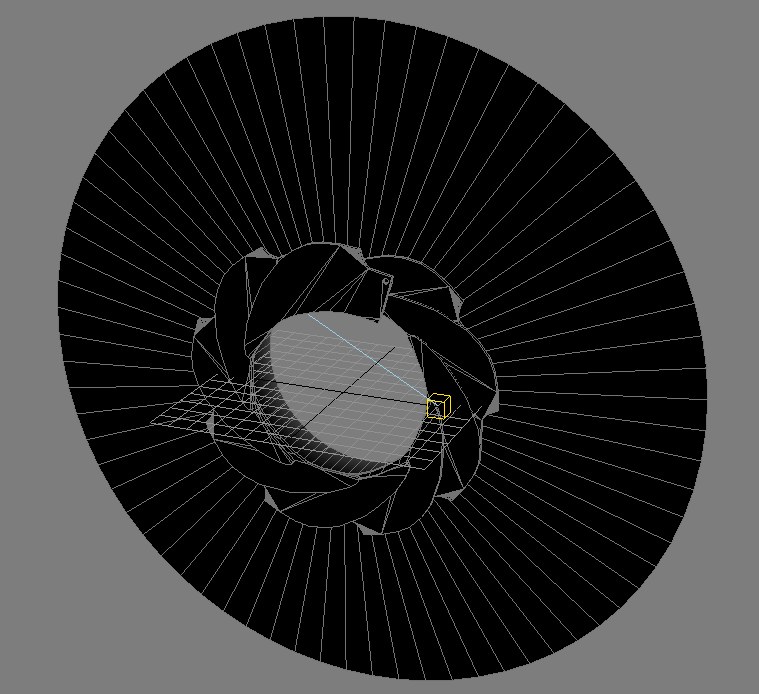
No comments:
Post a Comment